How to Make a Comic Without Drawing | Storytelling Stickers (Part 2)
Storytelling Stickers are stickers that are illustrated and engineered to tell stories. Click here to read more.
Where's Part 1?
In Part 1, we talked about the 3 Step Quick and Easy Way to Tell Your Story Visually.
The 3 Step Quick and Easy Way To Tell Your Story Visually
It also has a fun comic that I drew traditionally of how the Engineer, the Artist, and the Storyteller came up with Storytelling Stickers.
If you haven't yet, check it out here :
How to Make a Comic Without Drawing | Storytelling Stickers (Part 1)
Part 2

In Part 2, we continue the rest of the creation of my no-draw comic that has found a home in my journal.
Quick Overview
Here's the video again for a bit of a quick overview of what we're doing here and just to show you how quick and easy it is to tell your story visually.
As only the Engineer in me would have it, once you've figured out the steps to it, all we have to do now is repeat it over and over as much as we need.
The Turning Point
For me, a basic good story line has 3 parts. The setup, the turning point, and the resolution.
Step 1 : Establish Context using Panels

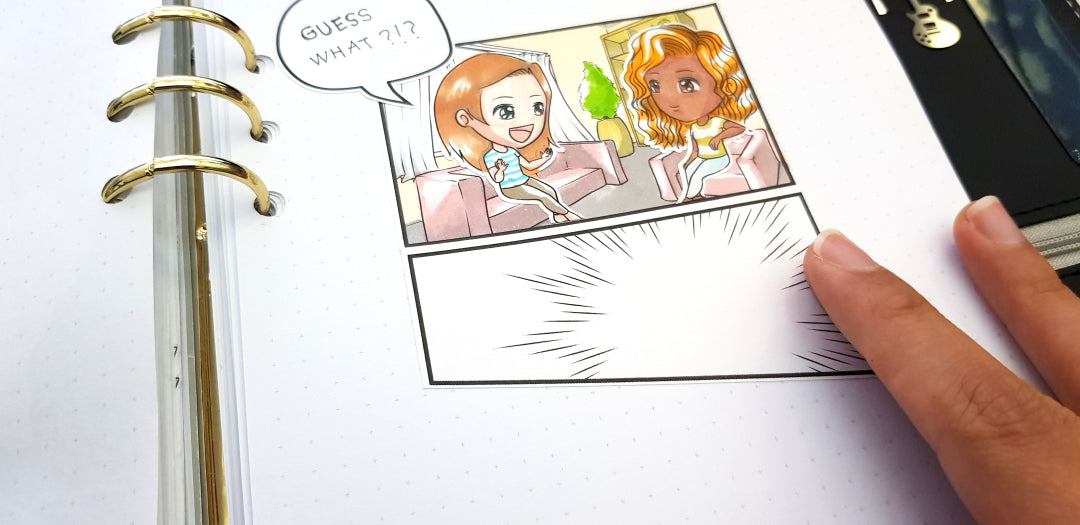
This background from the Pretty Panels Extender Pack is the perfect panel for the turning point. It expresses an "Aha!" moment so you know you're going to find out the juicy details or get your answer in the upcoming panels but this panel builds it up for a nice satisfactory "ahhh, I see!" moment.

If you want this particular effect, you can find it in the Pretty Panels Extender Pack Set 6. Remember each panel can be peeled individually so it is easy to mix and match different panels for different sets.
Step 2 : Choose Your Characters
Up next, I add my character into the panel. You can grab this face sticker in the Hair and Make Extender Pack and this body pose sticker in the Body Basics Extender Pack.

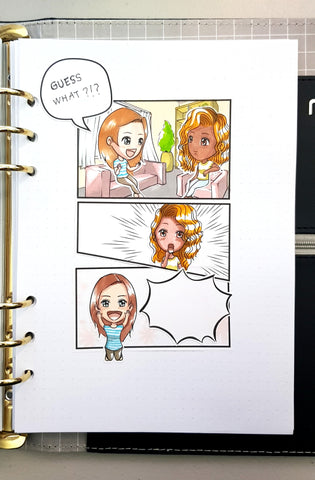
This time, my character is no longer facing my other character but facing straight at the reader. This subtly but uncannily puts you, the reader, into the eyes of my main character. Now, through her eyes, you are watching and anticipating the reaction of my friend. Who doesn't love watching people's reactions? Just look at Youtube and type "reactions" and you'll see why.
Storytelling Tip
Use a combination of different face angles such as a profile view and a straight on front view to help guide your readers and pull them into your story.
Step 3: Add in the Conversation using Speech Balloons/Bubbles
Skipped! We don't even need words in the second panel!

Did you notice that there is totally no text in this second panel? Yet you understand what is going on.
I matched her surprised expression with a body pose that adds "Oh! I might know what you're talking about" non-verbal body language. We communicate in non-verbal body language all the time that we know what this panel means without a doubt.
Now you start to see why and how it is waaaay quick (and not to mention fun) to tell your stories visually in comic than find the right words trying to capture the moment.
And yes, I cut the rest of her off to make her go inside the panel.
The Resolution
Again, we just loop through the 3 Steps above to complete the last and final panel of my visual story in comic.
Step 1 : Establish Context using Panels
The last panel uses Set 9 from the Pretty Panels Extender Pack. It's the one in the middle.

As you can see, it is already colored pink so you don't even have to color it yourself just to express that emotion. If you noticed, each set has a particular theme and Set 9's theme is Happy Emotions.
There are other different kinds of panels.
- Blank Panels : use if a background is not necessary or if you absolutely want to draw your own
- Emotion-full Background Panels : express each emotion without drawing or coloring
- Coloring Panels : mandalas, succulents, and flowers for a relaxing color therapy session and amp up the fun
- Special Panels : for occasions and seasons (imagine fully colored night sky scene or spring forest scene)
- Artisan Panels : artist illustrated 2 point perspective coloring background panels that are "drawn-for-you" so you don't have to stress. Where do you even start with perspective drawing, right?
Step 2 : Choose Your Characters
We're back to my main character. She is now going to resolve our story for us. She is going to tell us the Big News.

I also use a front facing face and body sticker here. Obviously, she has a big smile so that means it must be a happy kind of big news and as she is jumping it must be a really happy big news. See how non-verbal body language can add so much depth to your storytelling?
Step 3: Add in the Conversation using Speech Balloons/Bubbles
For the last panel, I used an "exclamation" speech bubble from the Bubballoons Extender Pack. There are many types of bubbles or balloons to add more "sound" to your convo in the pack.

Here's a little trivia for you: in Japanese Manga (their version of comics), you won't find a lot of "tails" on the speech or thought balloons. So you're left to figure out if the character was speaking or just thinking. Talk about letting the reader work for it, huh?
But I'm a bit more of a softie and want to make things easier for my beloved besties. So I included tails. Here's where I spoil my besties : I even included different placement of the tails so they can come as close to the character saying or thinking those lines. And if it still doesn't fit right, I illustrated it so that you can cut off the tails on the thought balloons and position it yourself.
The Completed Comic
Here's how my comic looks like in the end.

"But Grace! You tease me!" you might say. "What was the Big News??"
Well, I'll leave you thinking wondering about that. As Dr. Seuss says,
“It's not about what it is, it's about what it can become.”
That's it for our How to Make a Comic Without Drawing blog post! I hope you enjoyed it!
I know you're itching to make some for yourself so I recommend the Storytelling Starter Pack to get you started and don't forget, bestie, your 20% OFF discount on your first order.

2025 Update
I've long since discontinued my physical sticker collection when I found the flexibility of journaling and making manga digitally. But don't fret! I'm still on a mission to make manga without drawing possible. Check out my manga journal sampler digital stickers. It's free! You can effortlessly import them into your favorite journaling app like GoodNotes or Notability or manga making app like Procreate or Clip Studio as these are high quality PNG images. You can even print them out on self-adhesive labels or sticker paper if you still love journaling with physical paper stickers.
