How To Make a Comic Without Drawing | Storytelling Stickers (Part 1)

Storytellers that don't illustrate have asked this question a thousand times. Even artists know how much time and effort it takes to make just one comic page.
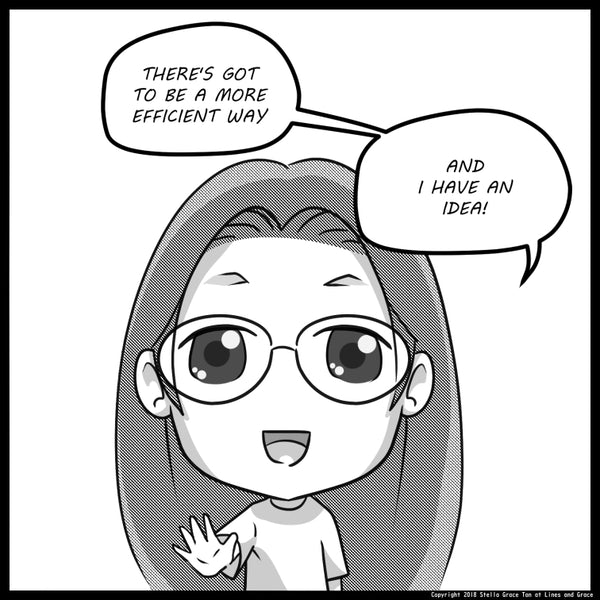
I have asked this myself. Being an engineer and artist at the same time who loves telling her stories in her journal, I have searched high and low on the world wide web.
My search has left me wanting for a quick and easy way that allows me to focus on the most important part -- the story itself.
Here is how the Storyteller, the Artist, and the Engineer in me take on each other.


Why not make it myself?
So I did. The solution: Storytelling Stickers - stickers that are illustrated and engineered to tell stories. Learn more about what are storytelling stickers here.
How to Make Comics Without Drawing
In a Nutshell
The quickest way is to show you how in this video below (if you haven't seen it already). The details are broken down for you in the next section.
The 3 Step Quick and Easy Way To Tell Your Story Visually
Step 1 : Establish Context using Panels
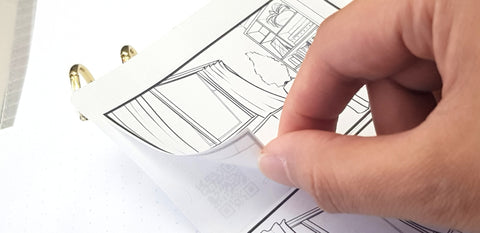
I chose an artisan background panel from the Storyteller Extraordinaire Mega Pack. The panels in the packs have been designed so that you can peel them individually. This allows me to mix and match panels from different packs.
All sorts of panels are also available on the Pretty Panels Extender Pack.

My story is about telling my friend about "that thing" - the big news. So the context is in a private place - my living room.
I stick the panel on my favorite medium for storytelling, which is my journal. My journal is an A6 ring binder with dotted pages.

Because they are stickers, they are so versatile that you can stick them on your favorite storytelling place such as in your Hobonichi, Traveler's Journal, Lechturm Bullet Journal Notebook, or even in your planner.
A friend of mine even found a place for her stickers on the back of her phone.

Another way to add context is through coloring. I cannot emphasize enough how radically different a story is just by coloring.
Here I chose colors that give my reader the "feel" for what kind of Big News I was going to tell my friend.

What would have taken an artist hours to draw (which I did when making the storytelling stickers) is now achievable in your story in minutes.
Step 2 : Choose Your Characters
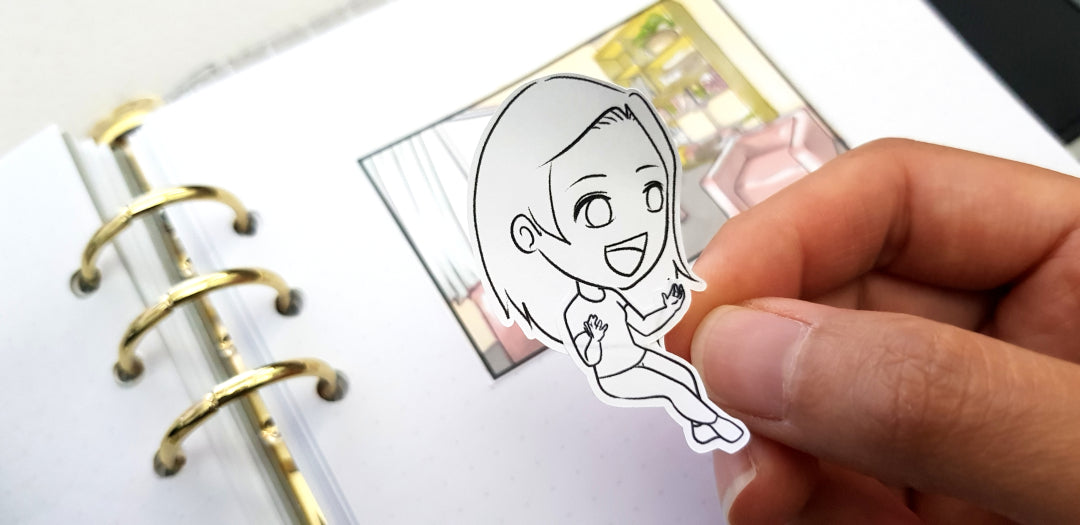
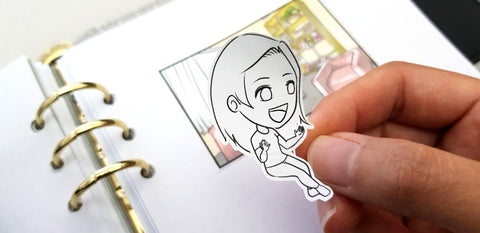
Next, I choose the face and body pose from the Hair & Make Extender Pack and Body Basics Extender Pack.
This particular hairstyle is not yet released as of this blog writing but watch out for it and more hairstyles in the next releases.

I used the profile view face and body pose because I wanted to let my characters face each other in conversation.
Another engineering trivia for you: the Body Basics stickers are cut so precisely around the neck area so they fit seamlessly with the face stickers. No need to get a pair of scissors to trim! Of course unless you want to.

And look, she sits perfectly on the couch! Don't you just love it when everything fits together?

My other character is a friend who is facing my character, listening. She fits on the couch, too!
If you would love to see more artisan backgrounds, please let me know in the comments below.
I also trimmed the part of the stickers that were outside the panel so it feels like my characters are inside this scene. Of course there are lots of different techniques in telling your story and not all of them require your characters to be inside the panel.

We add in the color to finish off our characters.
Coloring is always one of the best parts about making your story from these storytelling stickers because you can express your you being, well, you!

You can express every aspect of your ethnicity, or even a trendy ombre pink and blonde, if you wish. I got a bit more creative and turned my black brown hair into a lighter shade and added gold highlights on to my friend's.
Step 3: Add in the Conversation using Speech Balloons/Bubbles
The last step in finishing our first panel is adding the juicy conversation.

This sticker is from the Bubballoons Extender Pack. There are other stickers in the pack that expresses not just speech but thought, realization, and exclamation as well, for all those "Ohhh" and "Ahh" moments.

Stick it on there and write on it and we have finished our first panel in a breeze.
It is as easy as that!
Step 4 : Repeat Step 1, 2, 3
Wait -- there's a step 4? Well, it's not really a step step.
For the rest of my thinking process of how I completed the story, watch for my next blog post on How To Make a Comic Without Drawing | Storytelling Stickers (Part 2).
In the mean time, check out the Storytelling Stickers here.

If you're all good to go to try one out for yourself, try the Storytelling Starter Pack and don't forget to get a 20% OFF discount on your first order by becoming my bestie! I would love to get to know fellow storytellers like me!
2025 Update
I've long since discontinued my physical sticker collection when I found the flexibility of journaling and making manga digitally. But don't fret! I'm still on a mission to make manga without drawing possible. Check out my manga journal sampler digital stickers. It's free! You can effortlessly import them into your favorite journaling app like GoodNotes or Notability or manga making app like Procreate or Clip Studio as these are high quality PNG images. You can even print them out on self-adhesive labels or sticker paper if you still love journaling with physical paper stickers.
