5 DIY Journaling Ideas for an Aesthetic Journal That Doesn't Break the Bank
We've all seen them on Instagram, all the pretty journals. They have caught the journaling world by storm that it has its own term : "Aesthetic Journaling".
When I discovered the joy of this kind of creative journaling, I found myself re-learning valuable lessons as I read through pages that had drawings rather than just blocks of text. There's just something about pictures that draw the eye to those written words.
I also discovered another thing, you could easily spend $$$ to make your journal look pretty. 😮 From the pens to the stickers to the notebooks!
Save your hard earned $$$. You don't need to buy all those things to get started. Here are 5 journaling ideas for an aesthetic journal that doesn't break the bank.

You love journaling and you've began to think you want your journal to be a bit more creative, a bit more interesting, and perhaps a bit more aesthetic and cute. You've got some loose leaf papers or perhaps a beautiful notebook you want to use for journaling, but you don't want to spend so much on stickers and you're wondering if you can DIY it.
You definitely can! Start with these 5 quick ideas to jog your creativity when it comes to journaling DIY style.
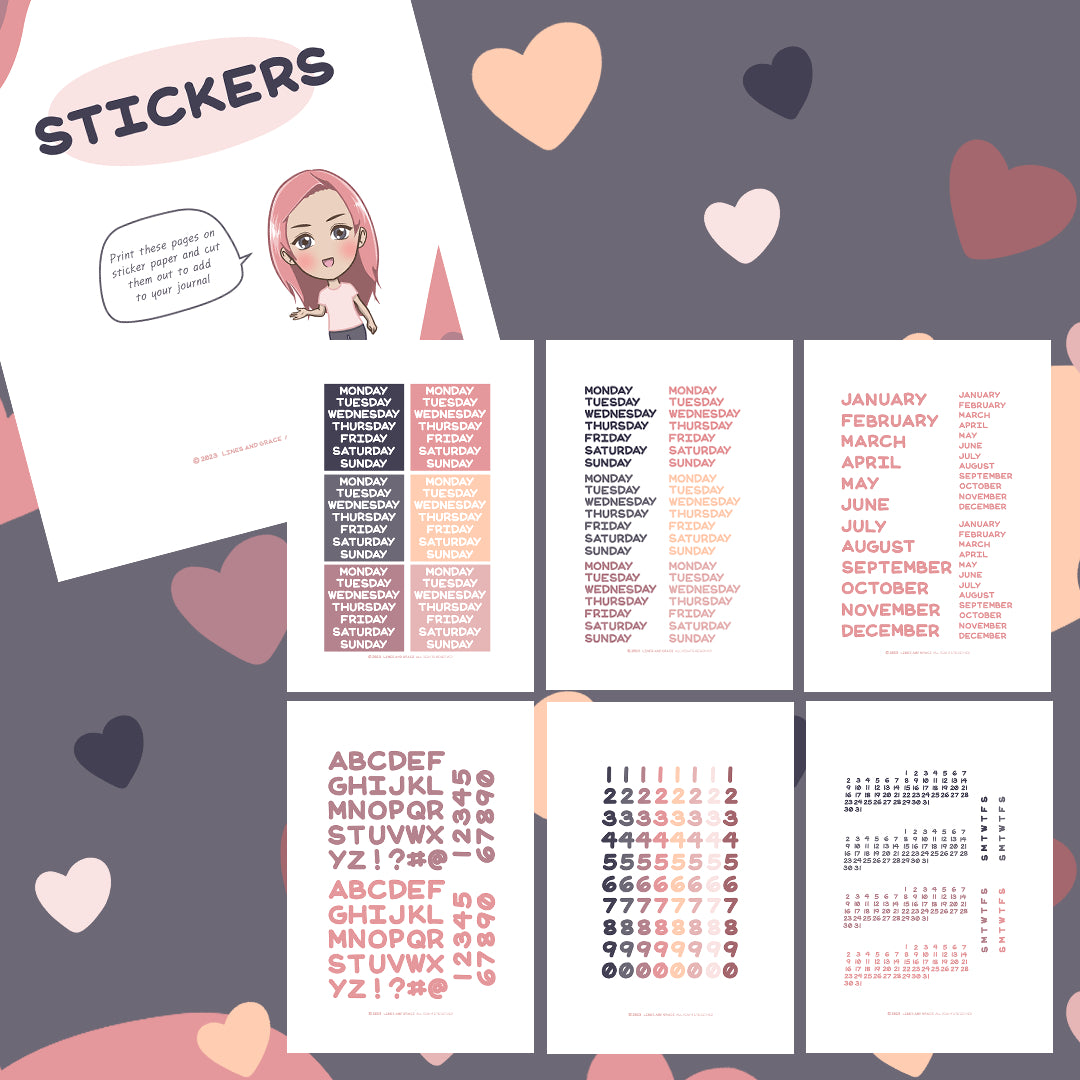
- Use stickers - that you made yourself of course!
- Print a pre-made journaling page template
- Create your own washi
- Try clear transparent stickers
- Use one color palette
Use stickers - that you made yourself of course!
One of the joys of DIY is that fulfilled feeling when you've made your own stickers. It doesn't have to be complicated like using a Cricut or Silhouette machine. All you need is sticker paper and some cutting tool.
In this Journal With Me video, you can see the stickers I've made for myself. You can grab these stickers for free here.
I do use a Silhouette machine for some of my stickers when I want to go on a sticker making spree. However, I also love cutting by hand. For scissors, I like using Cricut scissors because it feels better balanced. It gets a bit tricky and needs lots of practice though (even when you're using an Exacto knife) when you're trying to cut irregular shaped stickers, so I make it a bit easier by using a Gyro-Cut, which is a rotating blade cutter.
If you've never heard of rotating blade cutters, here is a video that shows you the difference between the two.
Print a pre-made journaling page template
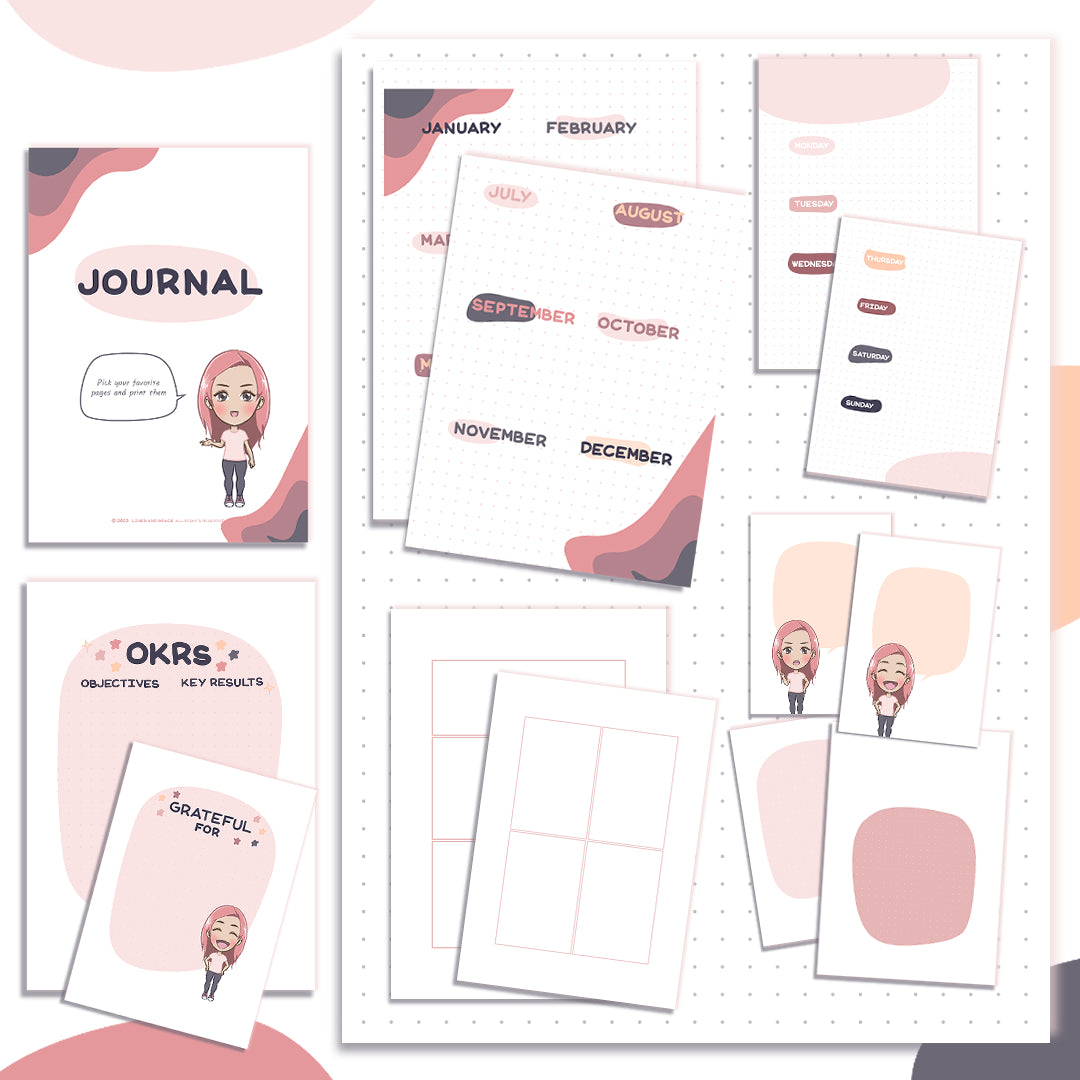
One way to DIY your own journal is to make your own journaling page template. In the Instagram post below I used a gratitude template because I love to journal the things I am thankful for. It really helps put things back into perspective. It's a breath of fresh air when I'm feeling overwhelmed or feeling lost.
If you find yourself journaling something over and over again, that's a great idea for making your own pre-made journaling template. You can use an app like Canva to customize some pre-designed ones, or you could even get some off Creative Market with a quick search for journaling.
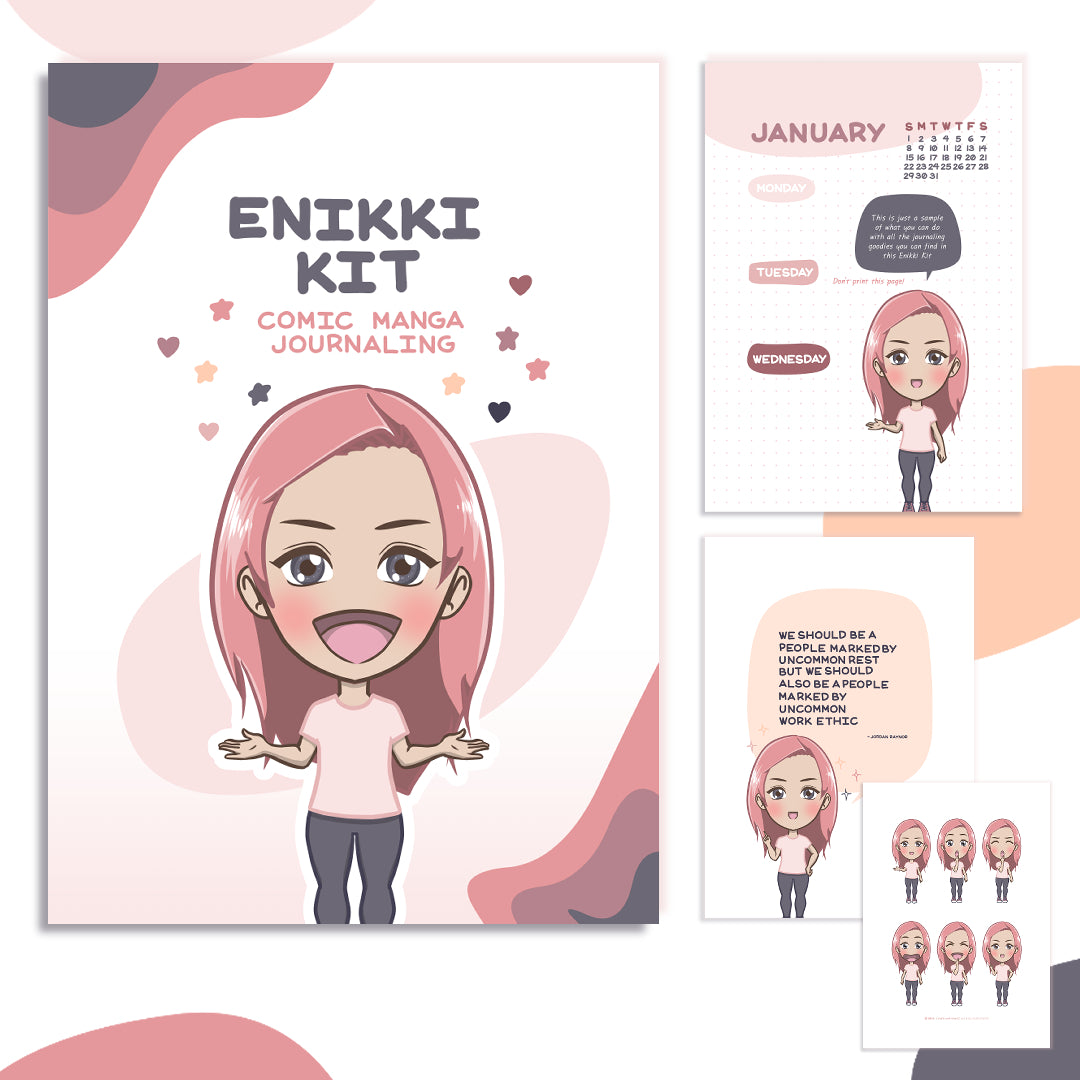
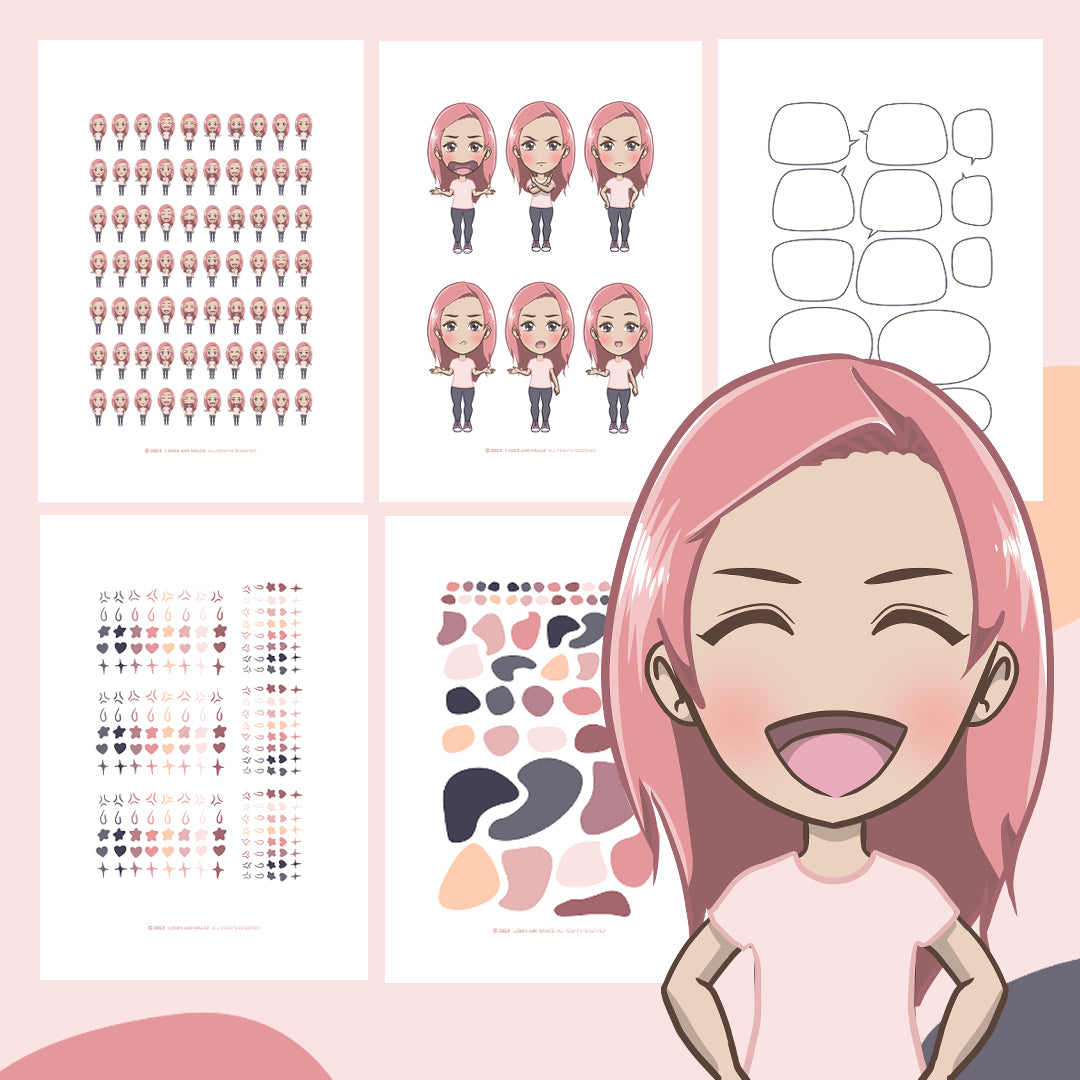
You can get the gratitude journal page I created in the video below, the Enikki Kit for FREE here.
Create your own washi
Another great DIY is to make your own washi stickers. Well, maybe not exactly the same paper as washi but you can make long strips of stickers to achieve the same effects as washi stickers do. I simply print patterns on a sticker paper and cut them into long strips.
If you have some patterned paper lying around, you can cut them into strips and smear glue tape behind them so they stick flush on to your journaling page. I find using glue tape is less messy than using plain glue and double sided tapes. Talking of double sided tapes, you can also buy a double sided adhesive sheet rather than a tape if you can't find sticker paper.
In this video I use this page of washi stickers from the Enikki Kit to create beautiful borders and make my journal page more interesting to look at. To create it, I use a Cricut paper trimmer. You can easily use a steel ruler and a cutter, too.
Try clear transparent stickers
When you print a sticker on a plain white sticker sheet, you'll need to cut very carefully and close to the printed image if you don't want a white border around it. Having no borders are great for layering your designs. It can be time consuming and frustrating when you make a mistake, especially when the sticker is tinier than your nimble hands will allow.
To save time and still get that same layered look, I use clear transparent stickers instead. They can be a bit pricey but when you're DIYing your own journal page, the savings from buying a pre-made notebook journal can be redirected for a few sheets of clear transparent stickers.
Clear transparent sticker sheets are also called clear adhesive sheets. A quick search on Google will give you options where to buy them. Make sure that if you have an inkjet printer, the sheets you're considering buying print on them. Some print only on inkjet and some on laser printers only. And some you can print using either.
At the end of the video below, I printed weekdays on inkjet clear sticker paper. Roughly cutting them saved me time and they still layered beautifully.
Use one color palette
Finally, the one hack that ties them all up together nicely is to use one color palette. A color palette is simply a set of two to five (or more) colors that look good together. Ever wondered why you journaled using stickers from a couple of sticker sets and ended up with a cluttered page even though you've painstakingly arranged everything? The answer: the colors may not have matched.
How do you know which colors go with what colors? Instead of diving into the rabbit hole of color theory, try these few hacks instead:
- Use a color palette generator such as Coolors
- Pick 3 to 5 colors out of your washi tape
- Pick 3 to 5 colors out of a sticker set
When you're picking those colors remember that the darker ones draw more attention. So here's an extra tip: to make your journal spread feel more balanced, pick two or more light colors and one or two dark colors.
In the Enikki Kit, you will see how I use the dark colors sparingly. Here's a flip through of my free printable that I designed for journaling.
Armed with these 5 quick ideas for journaling DIY style, go make your journal just a wee bit more pretty. And don't forget, the next time you feel lost or overwhelmed with making your journal more interesting, the most important thing to remember is to keep it simple. Pick one idea you can make happen in your journal and start there.